
Hey there!
Thank you for visiting Progressive Desk. You’re either looking into which standing desk best suits your needs or have already purchased a Corner Ryzer. If you’re looking for tips and recommendations on how to assemble your Progressive Desk in the most efficient way possible, you’ve come to the right place! We hope to help you as much as we can. This blog post is one of many ways you can assemble your L-shaped standing desk, and we also have a step-by-step assembly video that takes you through the assembly of both a one-piece and two-tabletop corner desk!
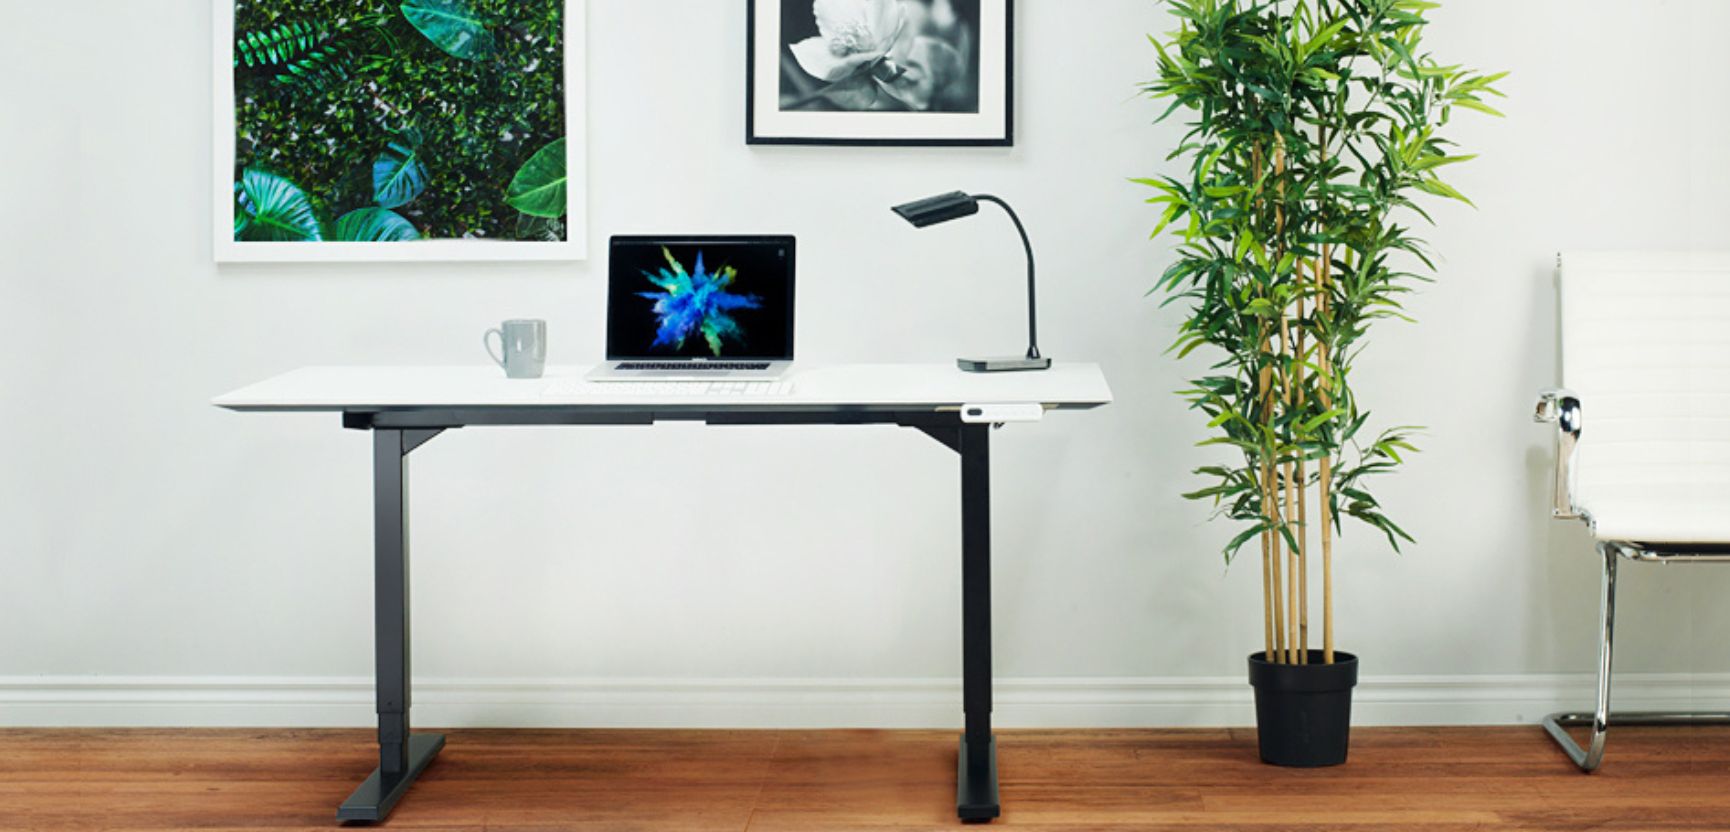
As an example in this article, we will be setting up a 78 x 60 Corner Ryzer – let’s get started.
Required Tools
Before assembling the Corner Ryzer, make sure you have the following equipment available for installation:
- 4mm Allen Wrench (included in all FLT-05 Corner Ryzer desk frame kit)
- Phillips Head Screwdriver and/or Power Drill (we would recommend a power drill for any installation of desk accessories)
- Tape Measure
We suggest the help of a friend for this installation, especially with the fixture of the tabletops to the frame since they are about 48 to 55 lbs heavy (depending on the tabletops of your choice!)
Pre-Assembly Check
Unpack your boxes and lay out all the parts needed to install the two-tabletop Corner Ryzer. We would like to point out that the rubber blocks (Part No. 1) are pre-installed on to the side brackets; and the glides (Part No. 8) are pre-installed on to the table lift feet parts. For more details on the parts list, you can head on over to Page 4 of the Corner Ryzer User Manual.
Just in case you were looking for the center rails (Part No. 7), these are located in between the desk frames. Pull these frames apart for an easier installation process in the next steps. Set these center rails aside for later.

If you have any missing parts in your order, please contact our customer service representatives at sales@progressivedesk.com with reference to your sales order number. You can also give us a call at 1-800-828-9414 between the hours of 6:30 AM – 5:00 PM PST.
NOTE: If you are using Progressive Desk tabletops, you will have extra parts in your package that you do not need to use: (12) ST5x20 Self-tapping Wood Screws
1. Attach the Legs to the Frame
Once you have all your parts laid out and ready for assembly, grab (4) M6x10 Machine Screws to attach the legs on to the frames. Make sure that the crossbar is facing downwards – this would be the part that touches the tabletop once everything is set-up (see arrow below).
Use the Allen wrench provided to partially connect each machine screw until every screw is inserted. Once everything seems to fit just right, fully tighten all the screws in place.

Repeat this process for the two other legs to be attached to the frame ends.
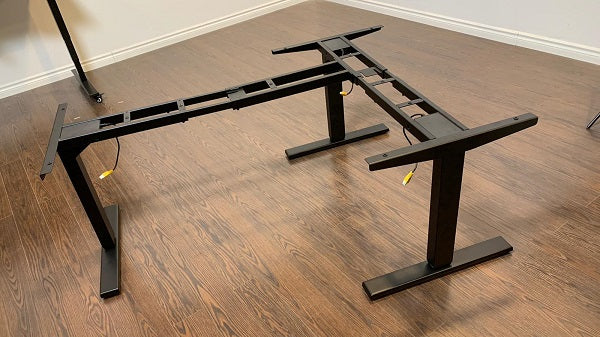
2. Build the Main Frame
Now that you have three sets of leg-frame-brackets connected to each other, it’s time for the main build to be set up. You need to use the frame with 16 mounting holes as the main frame – we can call the third leg-frame-bracket set the support frame build.

Grab two of the center rails you have set aside from earlier and slide them into the main frames. Make sure that the gaps in the center rails are facing inwards and are closer to the top edge since we are assembling the frame upside-down:

Take (8) M6x10 Machine Screws and temporarily install these to lock the center rails in place (Check out the white indicators shown below as a reference). There are no holes on the center rails so the screws will be flushed against these rails for support. We get a lot of inquiries about this, but we would like to assure you that your center rails are not defective!

Do not fully tighten this right now since you’ll need to adjust the width of the Corner Ryzer later on, depending on the size and alignment of your tabletop option.
3. Attach the Brackets to the Frame Ends
Install the side brackets to the frame ends. Here, you’ll need a total of (4) M6x14 Machine Screws (2 screws for each bracket connection).

4. Attach the Support Frame Build
Now, on to the support frame!
Decide whether you would like the L-shape return to be on the left or right side when the desk is in use. While you still have everything upside down, link the only frame not installed onto anything (Part No. 2) to the Main Frame Build using (4) M6x10 Machine Screws.
- If you would like the longer end of your desk to be on your right-hand side, install this frame as shown on the white indicators below
- If you would like the longer end of your desk to be on your left-hand side, install this frame as shown on the red indicators below

We wanted to install the 78” dimension on the left-hand side, therefore, our pictures will reference a Corner Ryzer with the support leg on the left. As a result, you should have something similar to what is shown below:

Once the support frame has been installed, grab the rest of the center rails that were set aside and install these with (8) M6x10 Machine Screws. Don’t forget that the gaps of the center rails should be facing inwards!
5. Attach the Feet to the Frame
Attach each foot (Part No. 6) on to the legs using (4) M6x14 Machine Screws and tighten them in a cross-pattern:

OPTIONAL: If you have opted for the DA-11-Black-6 Caster Wheels, you may also install these during this step. All you would need to do is take off the pre-installed glides and replace them with the caster wheels!
6. Flip the Desk Frame
This assembly is doable by one person; however, remember when we mentioned you needed a friend to help? Now’s their chance to shine – It’s time to flip the desk frame over prior to fixing the tabletop on. We wouldn’t want you to be flipping a desk that weighs over 100 lbs!
Your set up should now look something like this:
7. Connect the Desk Frame to the Control Box
To get your standing desk frame up and running, slide the control box included in the package onto the main frame:

Grab both Table Lift Wire Extensions (Part No. 16) included and connect these to the support leg, as well as the leg furthest from the control box.

Your connections to the control system should look something as shown below, where the yellow wire is from the leg closest to the box and does not need a wire extension:

8. Attach Your Tabletop
Remember when we mentioned that the width of the Corner Ryzer needed to be adjusted? Now’s the time! Grab your measuring tape. Measure the distance from one pre-drilled hole to another of the larger-of-two tabletops in your order. In this case, we will be measuring the 60” x 30” tabletop:

Now, keep this measurement in mind as you adjust the Corner Ryzer frame before placing the 60” x 30” top on the Main Frame Build.

Ensure that the pre-drilled holes of the tabletop are aligned with the mounting holes of the side brackets:

Grab the M6x13 Machine Screws included in the tabletop packaging and secure the tabletop on to the frame. Once one side of the desk is intact, loosen the screws of the support legs to align the installation holes for the second tabletop. We’re almost there!

9. Two-Tabletop Bracket Installation
Take a drill/Phillips screwdriver and grab the (2) pre-drilled straight brackets and (12) M5x20 self-tapping wood screws included in your desk frame kit.
1. Raise the standing desk for easier installation.
2. Position the bracket on the underside as shown in the image below and make sure that the side of the bracket with the countersunk holes is facing away from the tabletop.

3. Use your drill/screwdriver to secure the bracket using the self-tapping wood screws and do not over tighten.
4. Repeat these steps for the second bracket and your tabletop is now ready for use!
10. Reset Procedure
IMPORTANT: The reset procedure must be completed prior to operation of the standing desk. Note that during this reset procedure, the table lift will lower below the lower operating height. Please make sure that there are no obstacles when proceeding with this reset.
- Press and hold the down button of the RT-11 remote until you see [ASr]. Release the down button.

- Press and hold the down button again until the desk slightly lowers, rises and height-indicating numbers are shown on your display.
- Reset procedure is complete and it’s time for the last steps!
Conclusion
There you have it! A step-by-step standing desk assembly for our Corner Ryzer. We hope this helped with your assembly process! If you still have queries, you can contact our support team who will be glad to assist you with your assembly. Watching the video at the start of this article will also be a huge help, to visualize exactly what you’re meant to do at each step.